StoryboardThat is an online storyboarding tool that makes it easy to create stories even without being an illustrator. With StoryboardThat, you can make a digital story in minutes using both visuals, text and storyboard templates.
How Can I Log In?
1-Go to www.storyboardthat.com.
2-Look at the top right corner of the page.
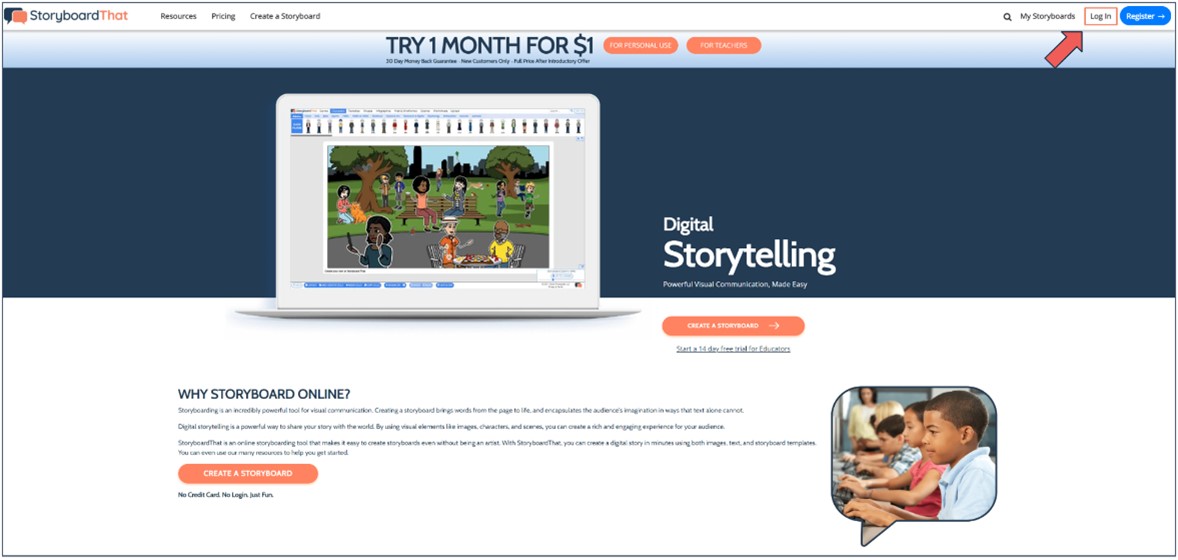
3-Click on the button that says, Log In.
4-Click the Single Sign-On button you want to use to log in.
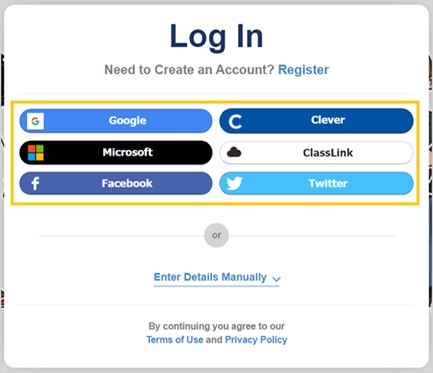
5-Sign in to your account, and then you will automatically be logged into your Storyboard That account.
How to Create a Storyboard ?
1. Open the Storyboard Creator.
You can access Storyboard Creator by clicking on any of the Create Storyboard buttons in your dashboard. Once opened, you will be asked to give your new storyboard a name.
2. Give Your Storyboard a Title
Write down what you want the title to be and select Continue. Once you have named your storyboard, it is now saved in your account under My Storyboards and will keep recording in real time as you work.
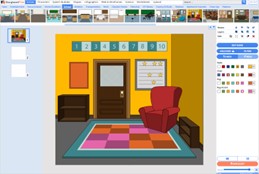
3. Choose a Scene
Choose a scene and then drag it into a cell. Change the colours if you would like.
This is the first cell of your new storyboard. All new storyboards are 3 cells long. Switch between Single Cell View and Full Storyboard View with these buttons in the right menu.
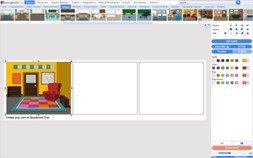
Full Storyboard View:
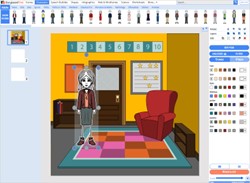
4. Choose a Character
At the top, click on the Characters tab. Choose a character and drag it into a cell. You can personalise the character by changing the colours.
Your storyboard will be saved automatically as you work.
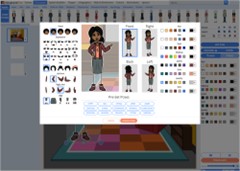
5. Edit Pose
With the character highlighted, click the blue Edit Pose button and personalise the character pose. Click Update Pose when finished.
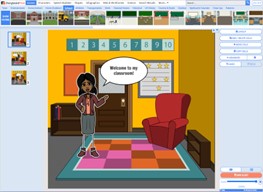
6. Choose a Speech Bubble
Click on the Speech Bubbles Tab at the top. Select a speech bubble and drag it towards your character. Write something in the text editor.
Single Cell View:
Full Storyboard View:
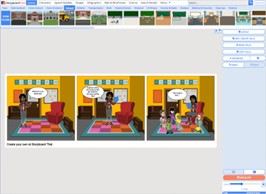
7. Save & Exit: When you are finished, click Save and Exit to save your latest storyboard version and quit Storyboard Creator.