Google Slides is a web application for free presentations.
- To make a presentation, visit Google Slides and sign in with your Google account. You can then use a ready-made template for a quick start or create a blank slideshow.
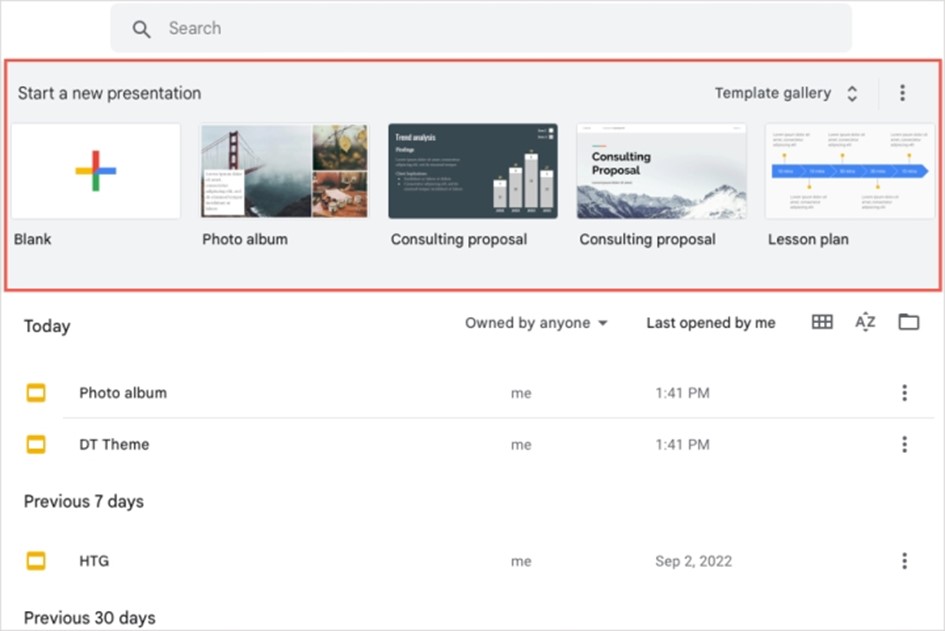
Step 1: On the homepage of the main Google Slides page, you will see several templates at the top. Select Template gallery to see them all. If you see a particular template you want to use, select it. Alternatively, select Blank to create a slideshow from the scratch.
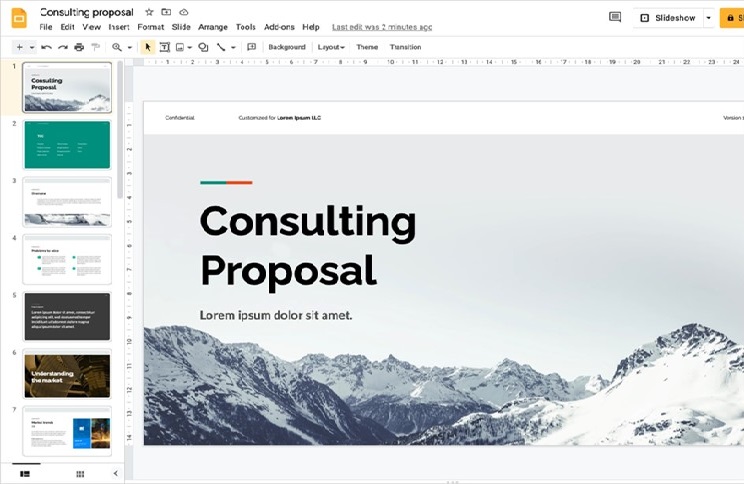
Step 2: When the slideshow opens, go to the top left corner and give it a name. For a template, the default name is the template name, and for a blank slideshow it is "Untitled Presentation". Replace this text with your own and press Enter or Return to save.
Step 3: Google Slides records your presentation automatically as you create it. At the top of the slideshow screen, you'll see that it was saved to your Google Drive and when you made the last edit.

Step 4: You can return to the original Google Slides screen at any time by clicking on the Google Slides logo next to the name at the top left.
Use views in Google Slides
As you create your presentation, you can use different views depending on how you want to work.
- To open thumbnails of your slides on the left side, choose View > Show filmstrip. You can then use the Filmstrip to go to different slides in your presentation and right-click on a slide. To close the Filmstrip, return to View > Show Filmstrip and deselect it.
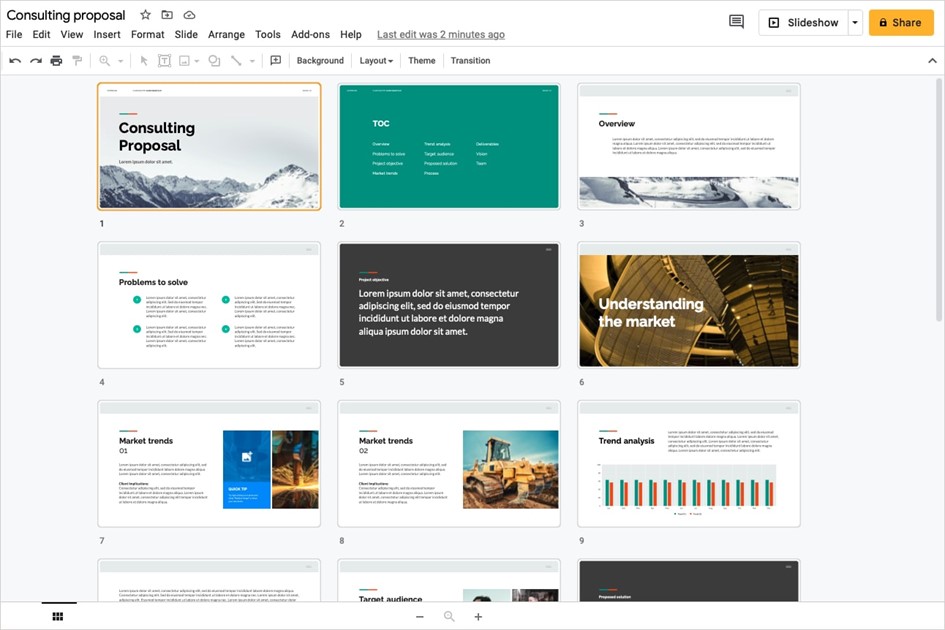
- Go to View > Grid view to see a full screen of the slide thumbnails. This gives you a bigger picture of how your slides are set up and the actions you can perform by right-clicking. To switch this view off, go to View > Grid view and deselect it.
Add and format slides in a presentation
-Go to the Insert tab and choose New slide near the bottom.
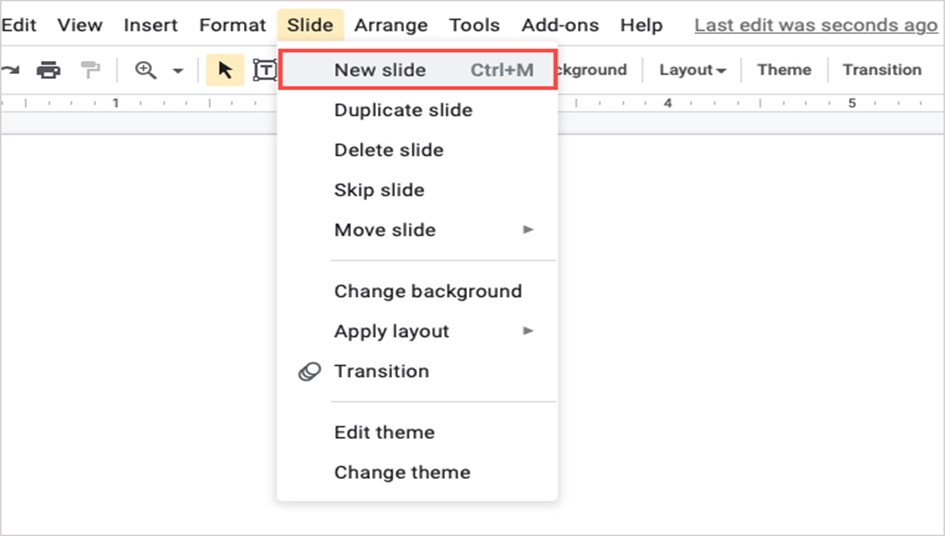
-Go to the Slide tab and choose New slide at the top.
-In the Filmstrip or Grid view, right-click a slide and pick New slide.
-The new slide is placed after your selected slide and uses the same layout. You can change the layout for the new slide if you prefer.
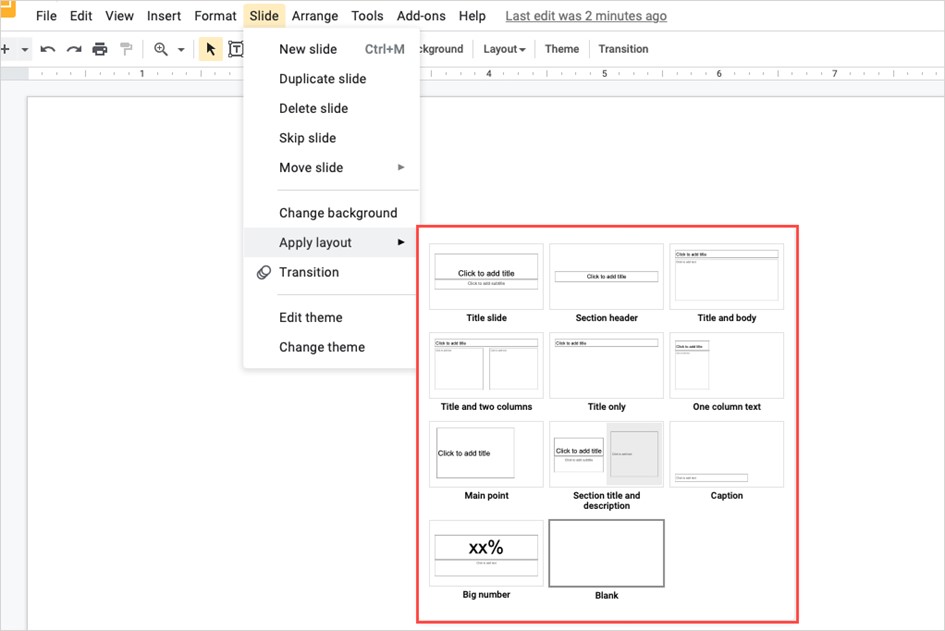
-To change the layout, select the slide and do one of the following:
Go to the Slide tab, move to Apply layout, and choose a layout in the pop-out menu.
In the Filmstrip or Grid view, right-click a slide, move to Apply layout, and choose a layout in the pop-out menu.
-To change the layout, select the slide and do one of the following:
Go to the Slide tab, move to Apply layout, and choose a layout in the pop-out menu.
In the Filmstrip or Grid view, right-click a slide, move to Apply layout, and choose a layout in the pop-out menu.